How To Create An Audio Spectrum in After Effects
In this article we’ll take a look at how to create an Audio Spectrum inside After Effects, using only the built-in tools and effects so let’s jump right into it.
Full steps to creating the audio spectrum
First, we’ll create a new composition by pressing Ctrl+N or Command+ N on Macs and we’ll make it 1920px by 1080px and 29.97 fps.
 Next, we’ll import the audio file by dragging it into the Project window or alternatively, you can right-click and choose File-Import and drag it into the timeline.
 We’ll create a new solid layer by going to layer-new-solid, and make sure to click on the “Make Comp Size” button as well.
 Next, choose Effect – Generate – Audio Spectrum.
 In the Audio Spectrum menu, make sure to change the Layer to the audio file we’ve just imported earlier.
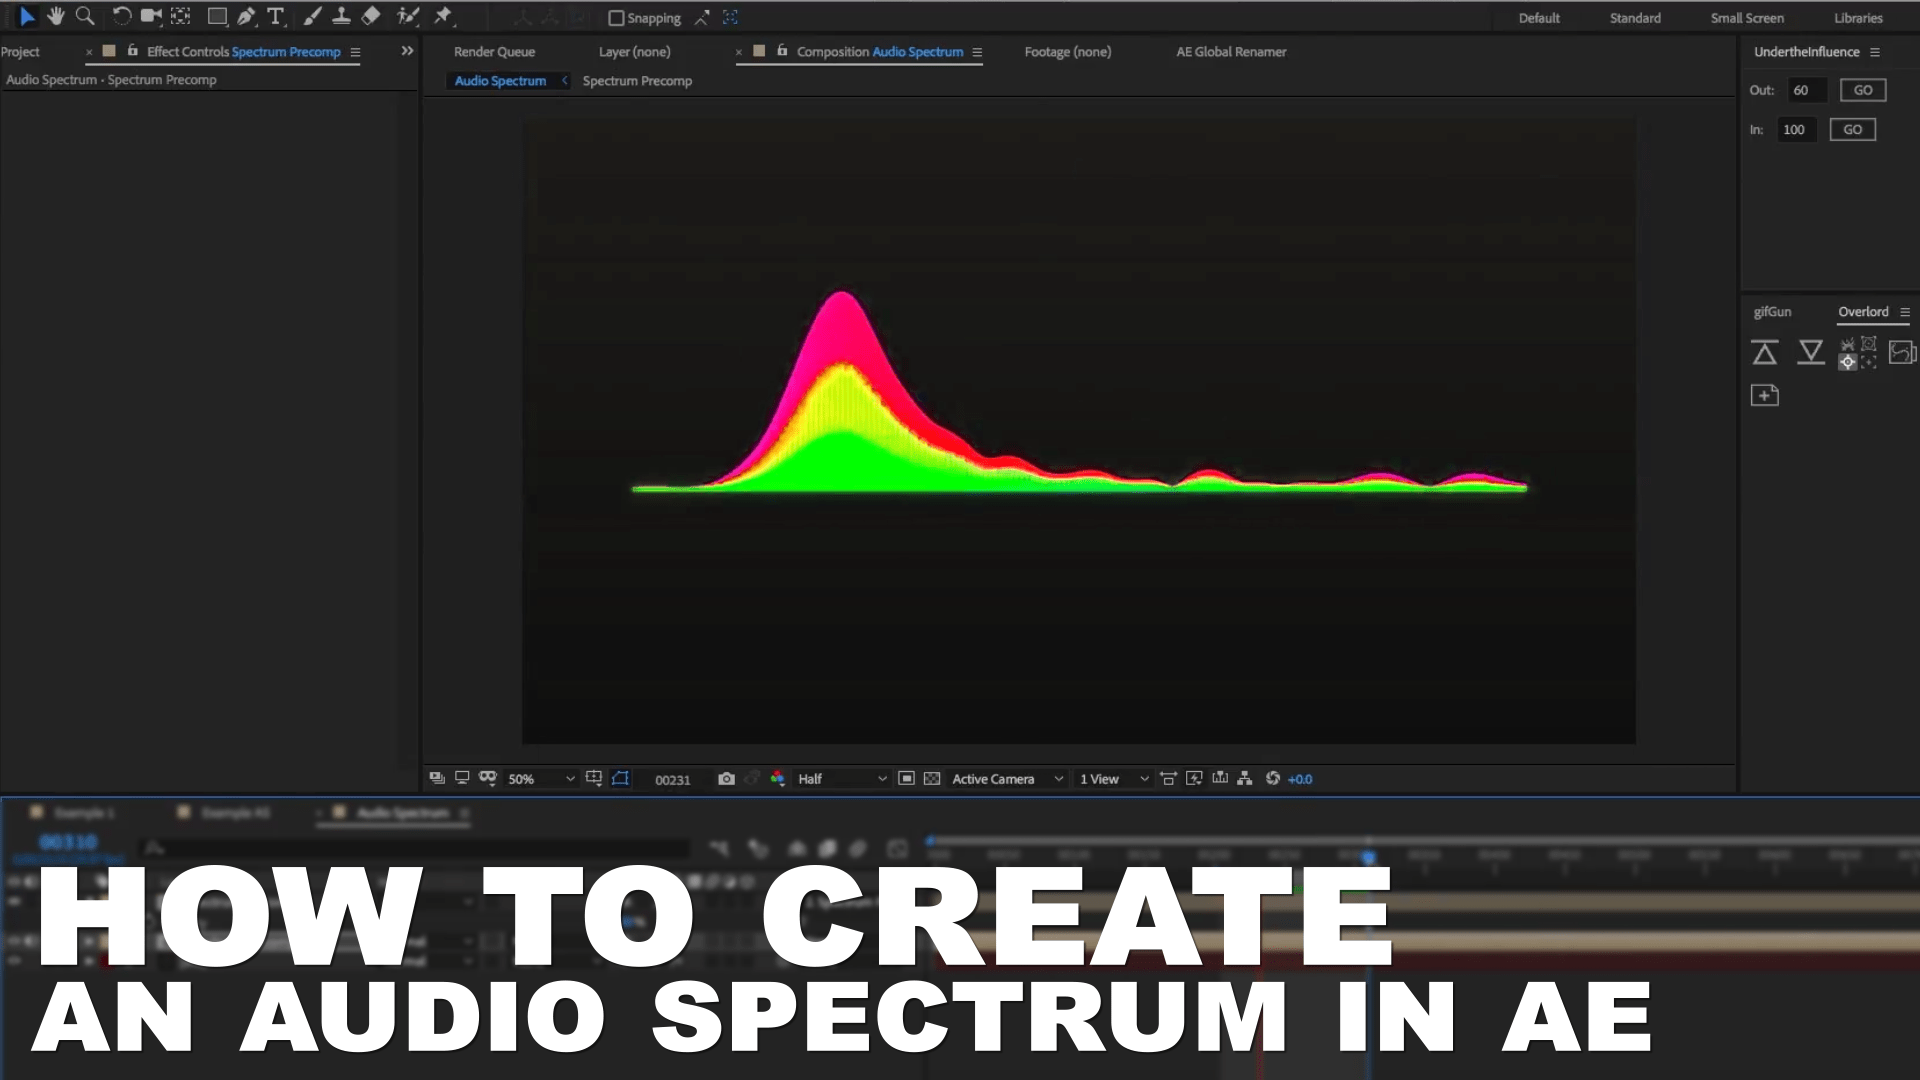
 Increase the thickness to 5 and frequency bands to 600. If we try to move the current time indicator you’ll notice it will start to animate to the audio.
 Change the end frequency to 200 to give it more mass and drop the maximum height to 400 and you can also set the audio duration to 130 to smooth it even more.
 We’ll also change the hue interpolation to +50 and lastly change the side options to “side A”. This way the animation will only go up.
 Next, we’ll duplicate the spectrum layer and drag it below the original one.
We’ll change the maximum height to 900 and we’ll change the inside and outside colors so we can differentiate it from the original spectrum.
Next, we’ll duplicate the spectrum layer and drag it below the original one.
We’ll change the maximum height to 900 and we’ll change the inside and outside colors so we can differentiate it from the original spectrum.
 Then we’ll create a new duplicate and drag it below and – similar to what we did before – we’ll increase the maximum height to 1400 and change the colors again.
 Next, we’ll select all the layer and precompose them by going to Layer- Precompose
 Now we just need to create a nice looking background so we’ll do that by choosing Layer-New-Solid and from the Effect menu, choose Generate – Gradient Ramp.
 We’ll set the colors to 2 dark shades of blue.
Next, we’ll duplicate the precomp and on the top layer we’ll add a Gaussian Blur.
Increase the blurriness to 35 and change the layer transfer mode to “Add”
We’ll set the colors to 2 dark shades of blue.
Next, we’ll duplicate the precomp and on the top layer we’ll add a Gaussian Blur.
Increase the blurriness to 35 and change the layer transfer mode to “Add”
 Press “t” to bring down the opacity property and set it to 50%. This will give the spectrum a nice looking glow.
 So this is one way to make an audio spectrum inside After Effects, of course you can play around and experiment with the settings to come up with your own version of this effect and you can even duplicate the spectrum layer further to give it more thickness and complexity.
Thanks for reading this article and stay tuned for more cool articles and tutorials on Adobe After Effects and Premiere Pro coming soon.
So this is one way to make an audio spectrum inside After Effects, of course you can play around and experiment with the settings to come up with your own version of this effect and you can even duplicate the spectrum layer further to give it more thickness and complexity.
Thanks for reading this article and stay tuned for more cool articles and tutorials on Adobe After Effects and Premiere Pro coming soon.