How to Remove A Logo From A Scene in After Effects
In this article, we’ll take a look at removing a logo from a footage and for this, we’ll track it first and then erase it. We will then replace it with another sample logo. The key to this technique is that we will need to do two trackings:
- a motion tracking for the logo
- a stabilize tracking for the cover of the logo
So let’s jump right into it and take a look at how to use this technique
18 Steps to Removing a Logo from a Scene in After Effects
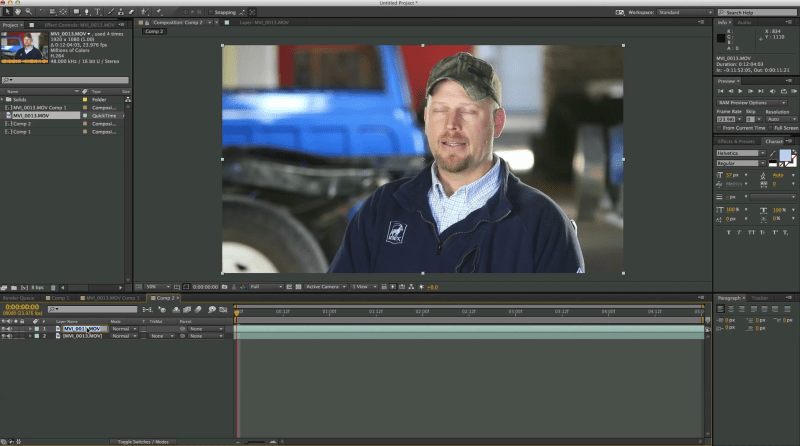
- Import the footage into After Effects and drag it onto the new comp button to create a new composition with the size, ratio and length of the video

- We’re looking to have a nice and clean credible result so first we’ll duplicate the footage and track it 2 times.
- Duplicate the footage by pressing Ctrl+D or Command+D on Mac computers
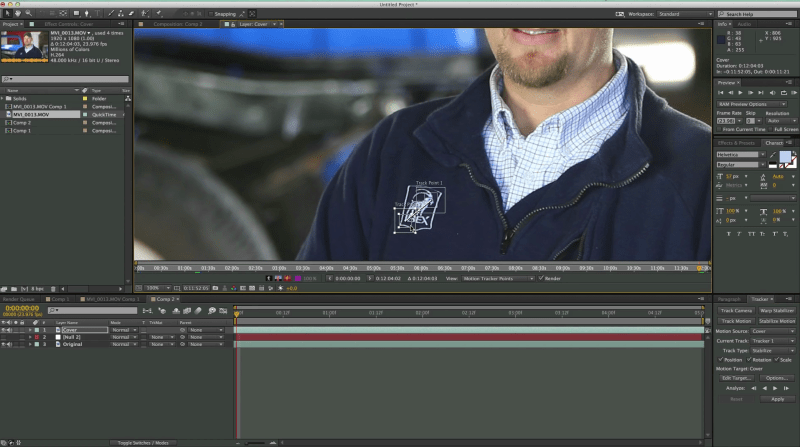
- Select the tracker by going to Window-Tracker and select track motion. We’ll choose position, rotation and scale as the tracking properties
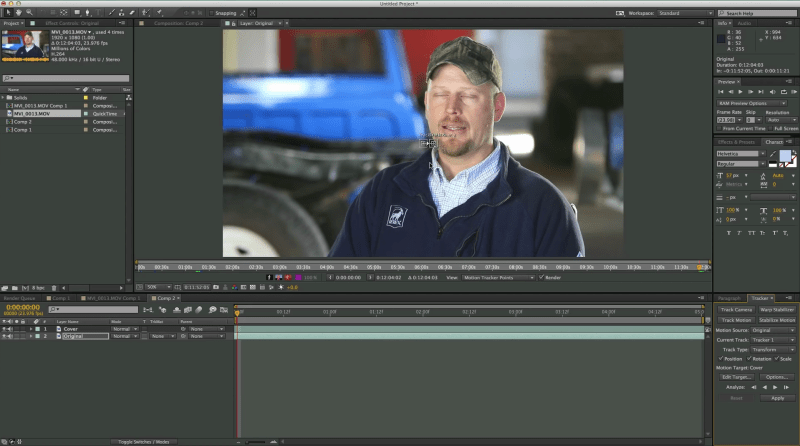
- We’ll place the 2 trackers on the corners of the logo and click on the analyze forward button

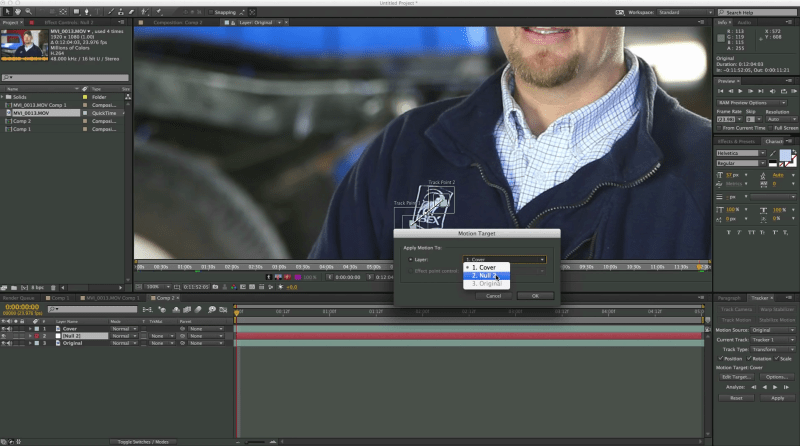
- Next, we need a target to apply it to so we’ll create a null object by going to Layer – New – Null Object
- Make sure that the motion target is set to the Null and apply it
- Next, we’ll select the duplicate of the footage that we created earlier and go to the tracker. This time we’ll choose Stabilize Motion
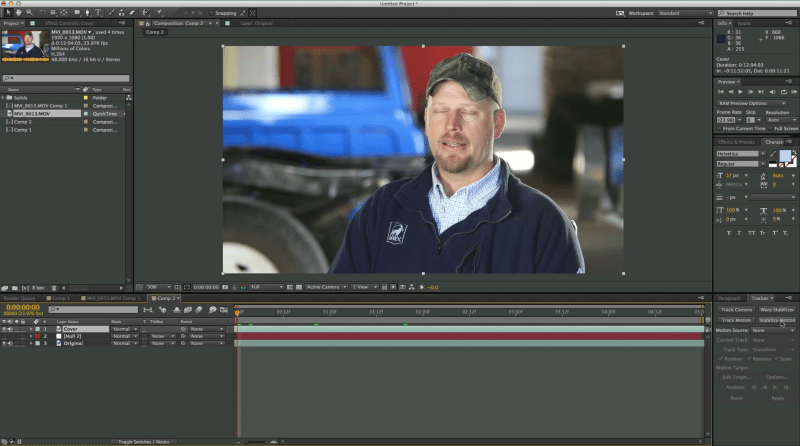
- We’ll choose 2 tracking points on the logo and click on the play button to start analyzing forward
- When you stabilize a motion, it applies it to that footage
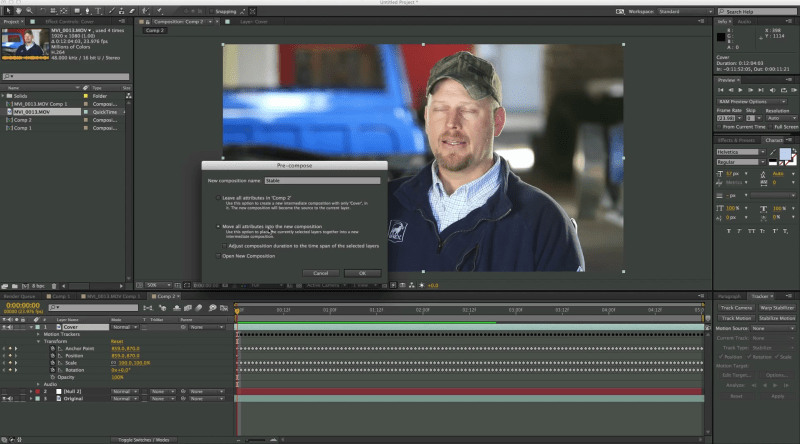
- Next, we’re going to precompose this top layer by pressing Ctrl+Shift+C and we’ll choose “Move all attributes into a new comp”. Click OK
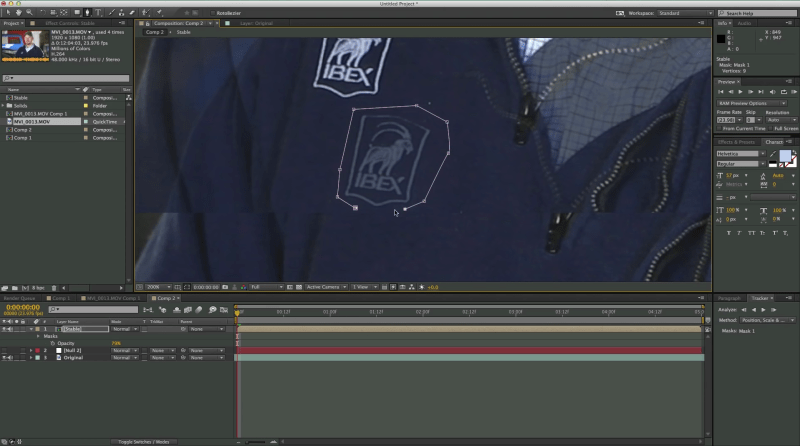
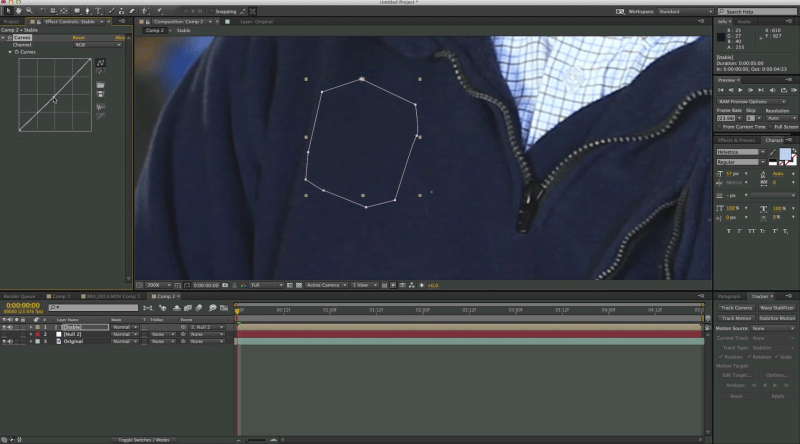
- Bring down the opacity of the pre-comp until it’s transparent and move it up a bit until it covers the logo. Press “g” to bring down the select tool and draw a mask around the logo that shows on the background footage layer
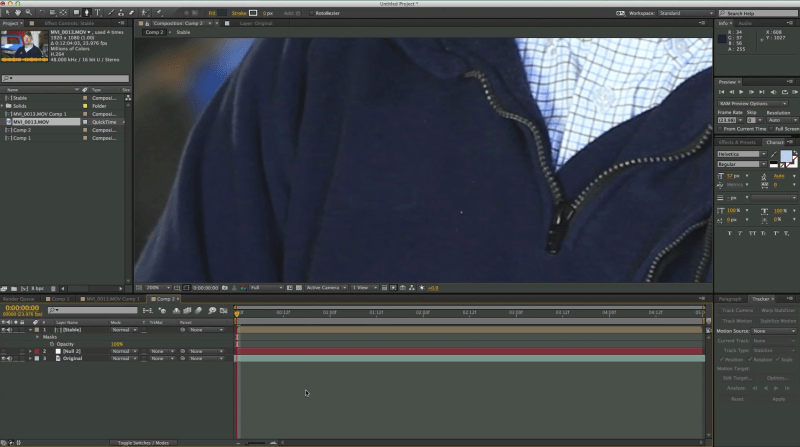
- Bring up the opacity to 100% and it should cover the original logo perfectly.
- Next, we’ll parent the pre-comp to the null by pickwhipping the layer with the null.
- If the color doesn’t fit quite perfectly, we can add a quick curves color correction and bring down the RGB a bit. This technique is very effective as it will work
 even if there are light changes in the scene and it will look natural
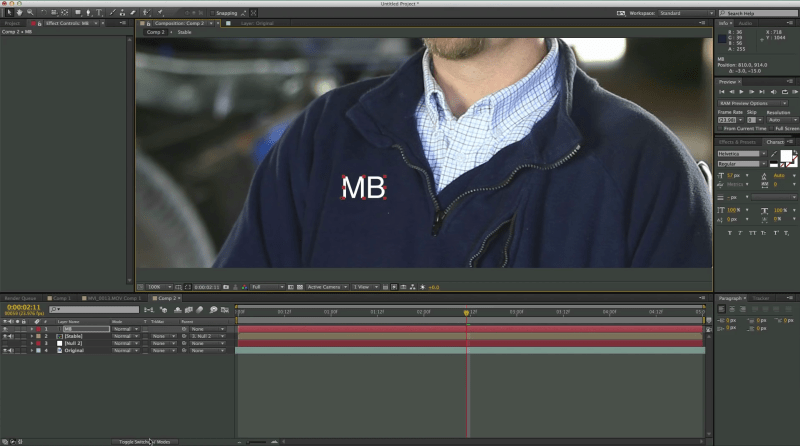
 - Next, let’s add a new logo. We’ll grab the text tool and type a text
- Make the layer 3D and press W to bring the rotation tool and place it in a natural looking position
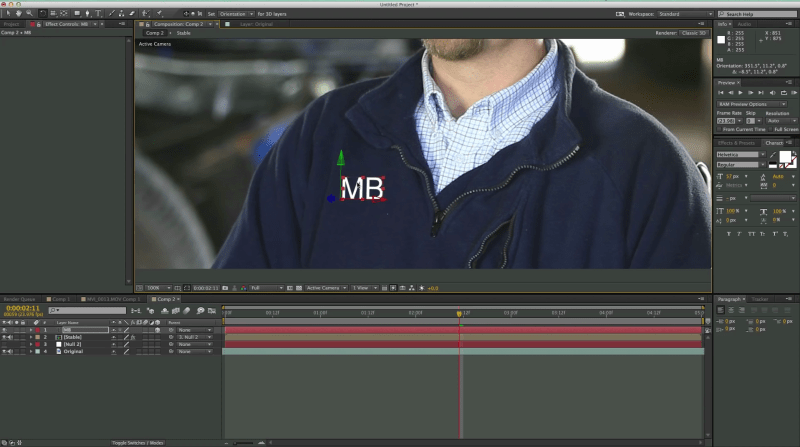
- The last step is to take the text layer and parent it to the null
![]() We hope you enjoyed this article on how to remove a logo and replace it with your own using only the built in tools from After Effects
We hope you enjoyed this article on how to remove a logo and replace it with your own using only the built in tools from After Effects