How To Use Both Sides Of A Layer
Welcome to this tutorial and today we’re going to be looking at how to use both sides of a layer, more specifically how to make use of the backside of a layer when rotating it. There are 2 ways to go around it, we’ll be using a special expression for our first example and a null object for our second example. This technique can be very useful when creating presentations, your own templates or maybe just some cool looking custom transitions.
Using the back side of a layer with an expression
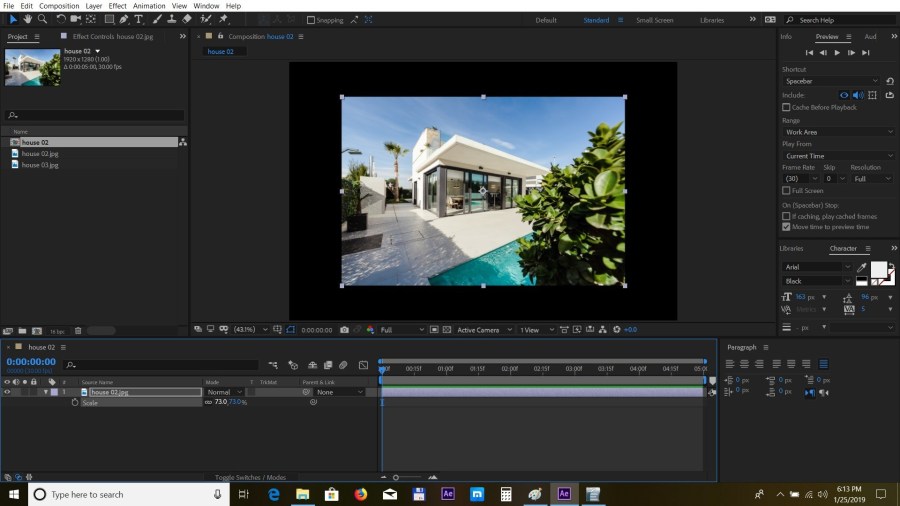
In this example we’ll be adding a texture to the back side of an image, so we’ll import the image and create a new composition from it
 next, we’re going to scale it down a bit. Press “s” to bring down the scale property.
 In the effect, controls menu search for Ramp and add it to the layer
 we’re going to change the ramp to radial, the start color to white and the ending color to black and adjust the start and end positions a bit.
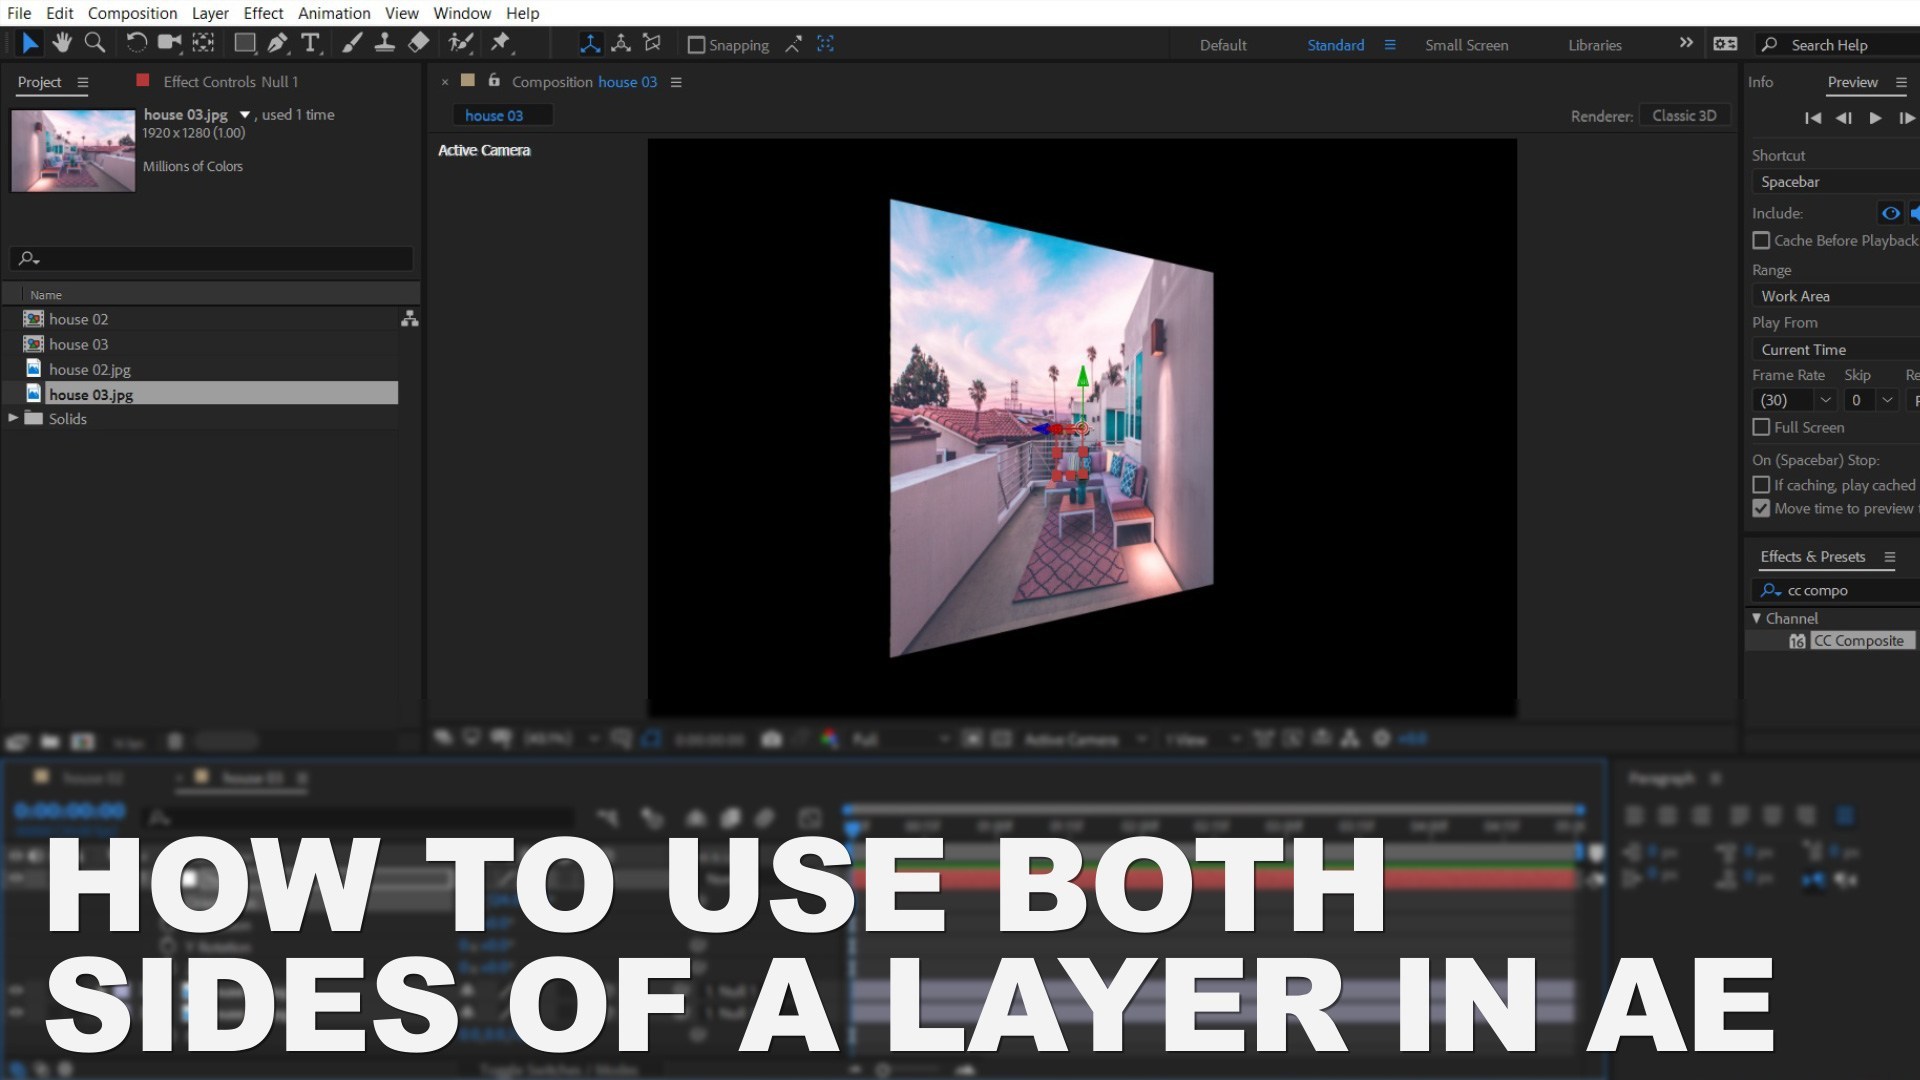
 Next, we need to add the CC composite effect on to our layer. This is the effect that will let AE know that we are looking to use both sides of the layer.
 We’ll enable the 3D property for the layer and add our expression
Alt+Click on the Opacity property of the CC composite effect and add in this expression:
We’ll enable the 3D property for the layer and add our expression
Alt+Click on the Opacity property of the CC composite effect and add in this expression:
 if (toCompVec([0, 0, 1]) > 0 ) 100 else 0
Now if we press “R” and try to rotate the layer in the Y-axis, you will see the texture has been applied to the back.
if (toCompVec([0, 0, 1]) > 0 ) 100 else 0
Now if we press “R” and try to rotate the layer in the Y-axis, you will see the texture has been applied to the back.
 So this is how to add texture to the back of a layer while keeping the composition panel are clean and well organized
 Let’s take a look at another way to do it using a null layer.
Using the back side of a layer with a null object
This is another approach to this technique and we’ll be importing two photos into the composition. It’s important to make sure they are exactly the same size.
Next, we’ll turn both layers to 3D and we’ll move second layer 1px into Z space. Press “P” to bring down the position property and set the Z value to 1.
 Now we need to create the null object. Select Layer-New – Null Object
 We’ll turn the Null to 3D and parent the two photos with the null object
 And now if we press “R” and change the Y-axis values, the images will turn and we will also have the back layer showing.
 So this is how you use both sides of a layer, you can get creative and apply different effects and expand this technique further.
Thank you for taking the time to read this article and please stay tuned for coolerAfter Effects tips and tricks coming soon.
So this is how you use both sides of a layer, you can get creative and apply different effects and expand this technique further.
Thank you for taking the time to read this article and please stay tuned for coolerAfter Effects tips and tricks coming soon.