Stabilizing Footage in After Effects With The New Warp Stabilizer VFX

In this article, we’ll take a look at stabilizing a footage that is shaky and smooth out the motion or reduce it to almost no motion even if there are moving elements in the video It’s a very simple technique to use and implement so let’s go ahead and take a look at the steps
After Effects and Stabilizing
After Effects is not just a great tool for motion graphics and visual effects but also a fantastic tool for stabilizing shaky footage and smoothing out camera movements. We’re going to take a look at the built-in effect called Warp Stabilizer VFX, which has come a long way since it’s initial release and the results are really spectacular very little work. It’s a drag and drop effect and it will analyze frame by frame your footage and place tracking points. Let’s see how it works
Steps to stabilizing the motion in your footage
- import your footage into After Effects and drag it into a new comp
 trim your comp to the work area where the footage is shaky and needs stabilization. You can press B to set the beginning of the work area and N to set the end. Right-click in the timeline area and choose Trim to Work Area
 we will use the Warp Stabilizer VFX which you can bring out in the Effect Panel by typing its name
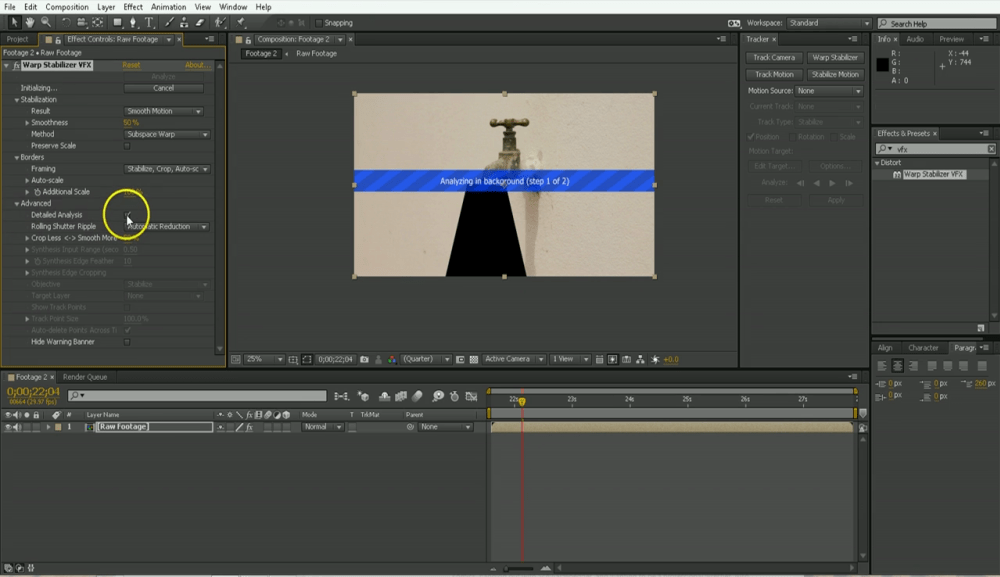
- Click on the effect and it will already start to analyze and then it will move on to the second step, stabilizing. You can see under the auto scale section how much it has to scale in order accommodate the changes that we’re making
 At this point, the footage looks quite good but there are a thing we can do to improve it even more. One of the things is removing tracking points that may be on things that we don’t need to track. You only want to track points that exist on solid surfaces. Click on advanced and check “show track points” and you might need to zoom in or make the tracking points larger so you can see them. Scrub through the footage and locate and manually delete the tracking points that are not in solid surfaces. Because we have the “Auto-delete Points Across Time” in the Warp Stabilizer panel, they will not repopulate over time.
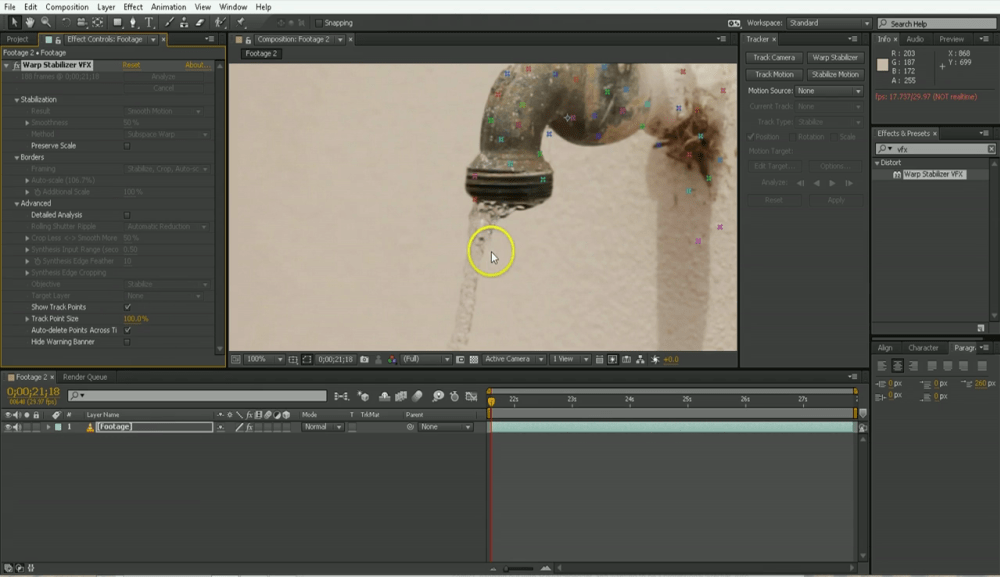 Since this technique is effective but not suitable for long shots that need to be stabilized, we’re going to delete the effect for now and draw a mask around the moving non-solid part of the video
 Change the mask to subtract and then precompose the footage by going to Layer-Precompose and choose “Move all the attributes into to new comp”
- Next, bring on the warp stabilizing VFX again. Under Advanced section, we can optionally turn on the “Detailed Analysis” so the plugin will look in more detail at what pixels it should stabilize and what pixels it shouldn’t. We want to make sure we get the process to go as smooth as possible and the good thing is that we only need to do it once.
 After the stabilization is done, we can go back into the pre-comp and turn off the mask. The plugin has a limited stabilization point it can use, so it’s important to not waste them on moving non-solid elements such as: moving cars, tree, peoples faces.
- We’ve looked at the “Smooth Motion” result but we can also use “No Motion” and it will do its best job to lock off this shot
 In Adobe CC and above you can also turn off the amazing “ByCubing Sampling” that will increase the quality of the upscaling of the footage. If you have a shaky footage, this is a great way to lock it off